Free of charge and without warranty. Load figures are estimates, not a promise. How much a part really holds depends on your printer, the material, the screws and the surface you mount it on. Test every printed part yourself with a good margin before you put weight on it, and do not hang anything above places where people spend time. The terms of use apply.
How it looks in use
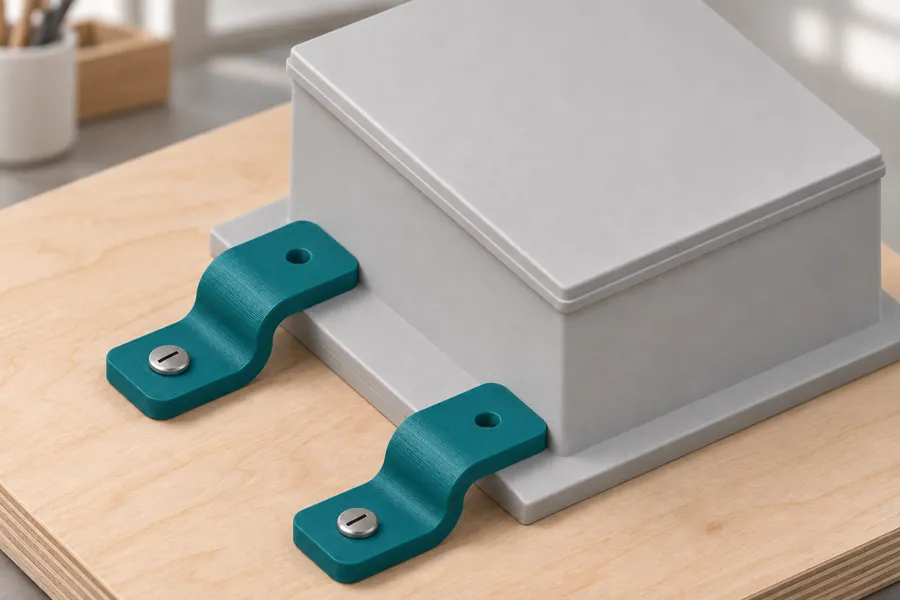
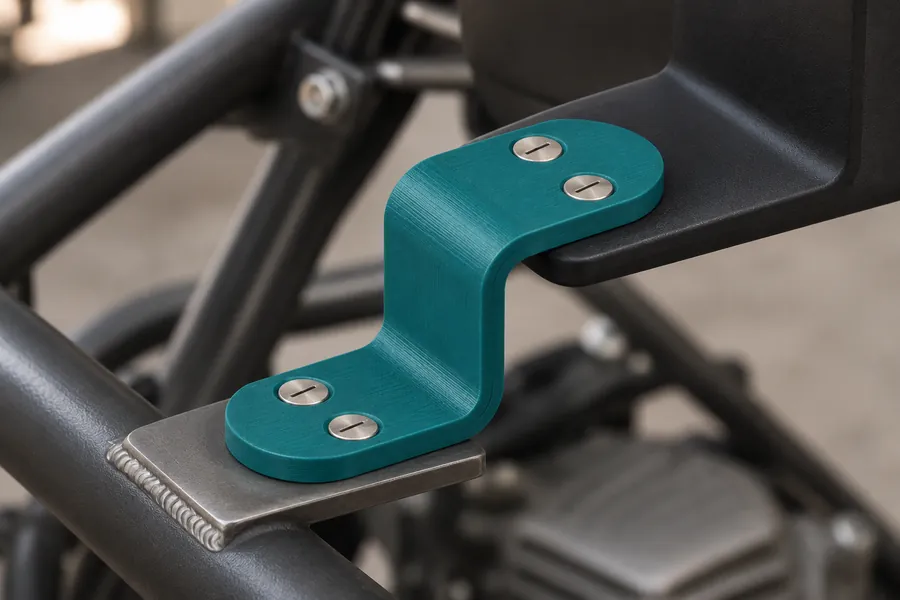
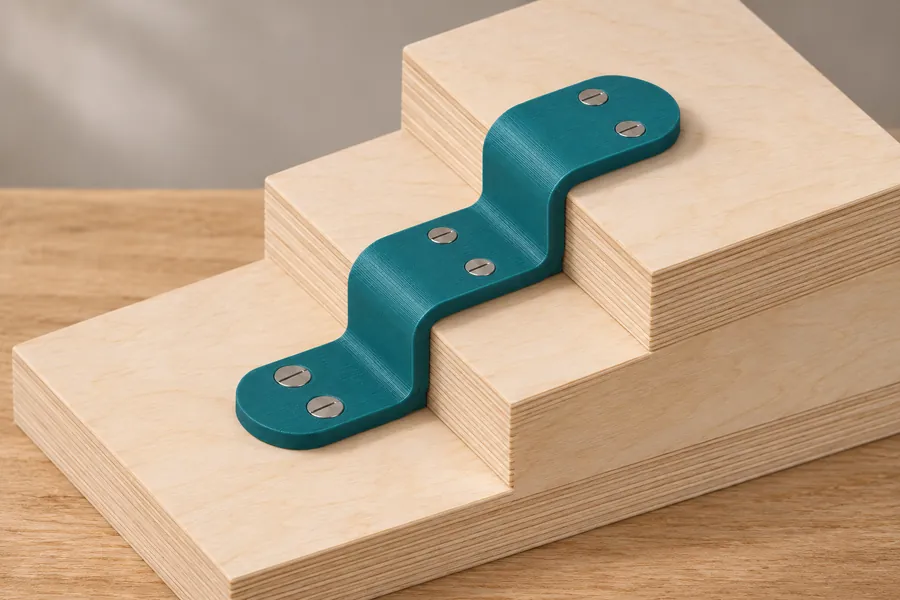
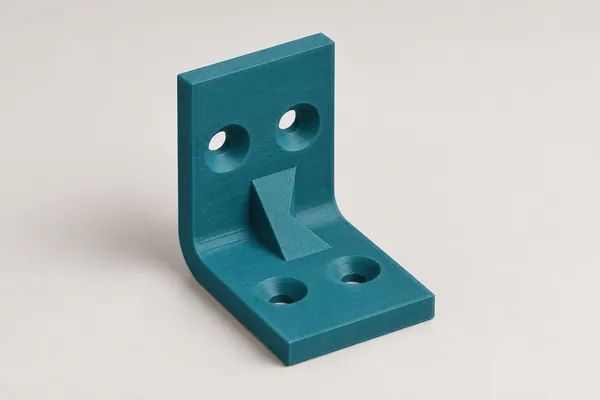
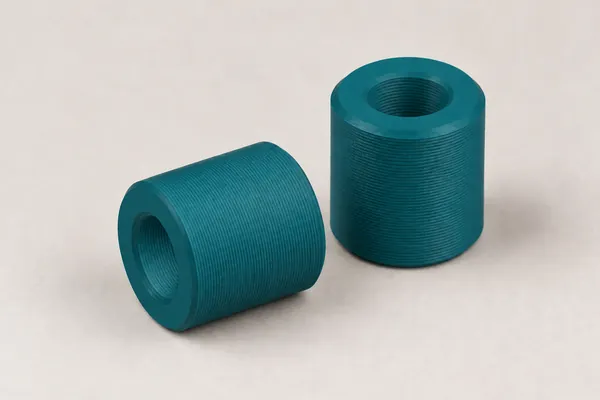
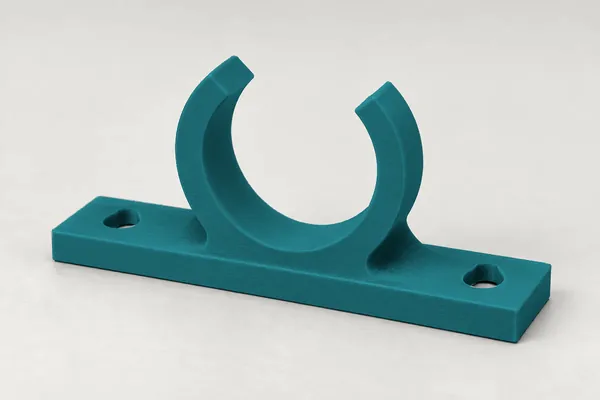
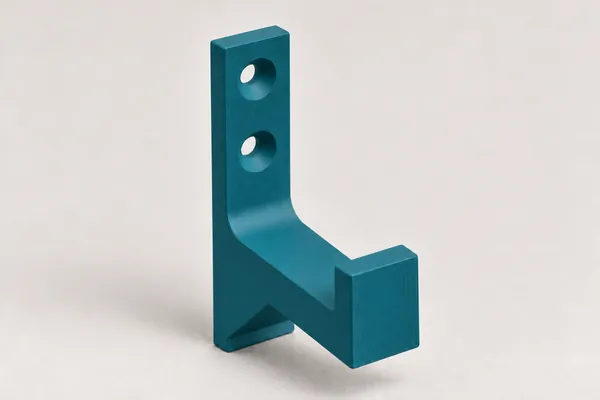
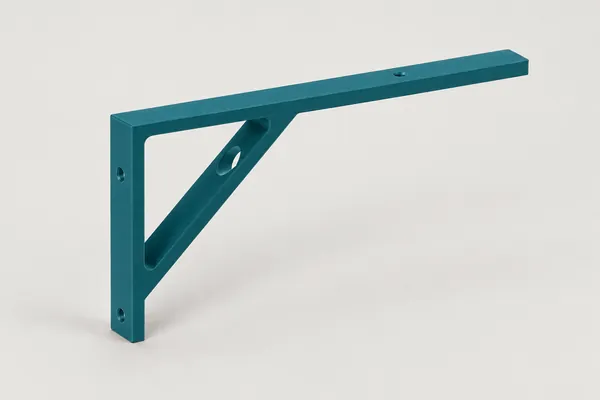
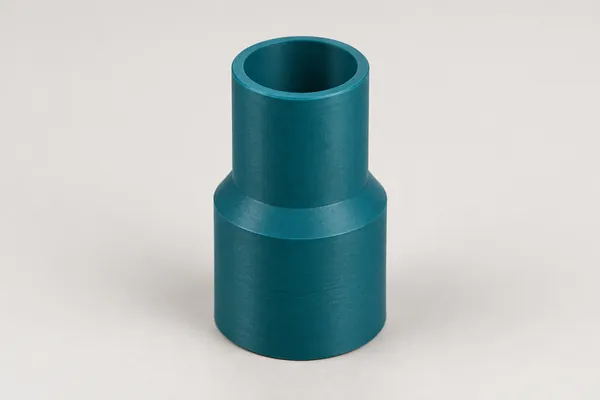
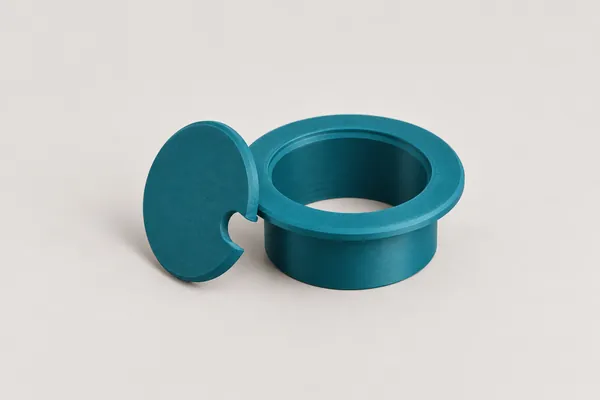
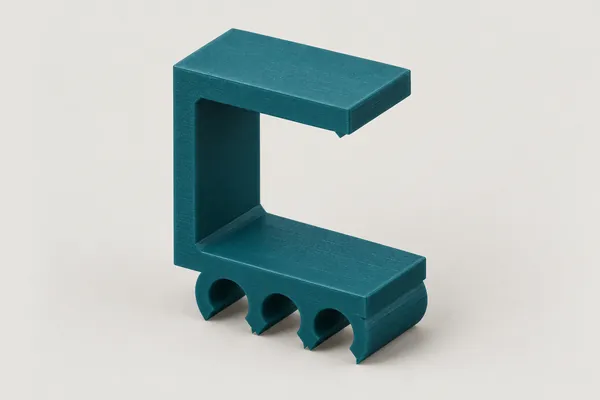
Example images in different sizes and shapes, not photos of prints.
How the generator works
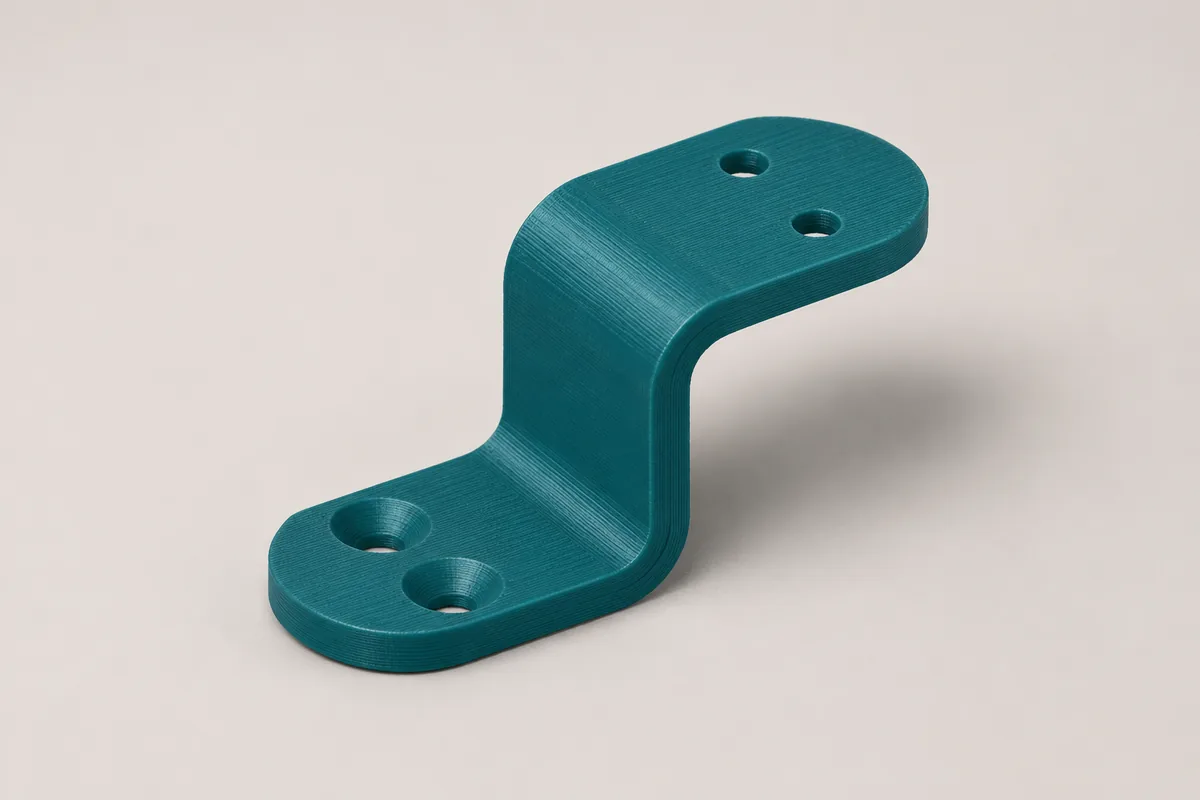
A Z-bracket joins two surfaces that are offset from each other. Leg A sits at the bottom on one surface, leg B at the top on the other, with the web in between. First enter the length of both legs, then the height, which is the offset between the outer faces of A and B, and the width of the bracket. All lengths are measured on the outside, as with a bracket you would buy.
In "Simple" mode both bends are right angles, the generator chooses roundings to suit the thickness and places the screws itself. In "Pro" mode you set both bend angles, the inner and outer radius of each bend and the hole pattern of each leg yourself. With two different angles the legs are no longer parallel. Your input is kept when you switch between the modes.
Under "Steps" you build several offsets into one bracket, for example a double Z with three legs. Each step consists of a web and the leg that follows. In "Simple" mode all steps have the same height and all further legs the length of leg B. Under "Shape" you choose whether the bracket keeps rising like a staircase or goes up and down in a zigzag. In "Pro" mode you set the direction, the height and the length of the following leg for each step separately. Bend angles and radii apply to all steps.
Rounded leg ends
Under "Leg ends" you choose what the ends of A and B look like from above. "Square" is a straight end. "Round corners" rounds both corners with the corner radius, and "Fully round" gives each leg a semicircular end. The bracket then looks like a bought sheet metal part and has no sharp corners.
The generator checks that the holes keep enough distance from the rounded end. If less than 1.2 mm of wall would remain, a message appears. The rounding that lies on the print bed changes into a 45° slope in its lower half. This lets it print without supports.
How the bracket is printed
The STL file is already oriented the way it should be printed: on its side. Each printed layer is then a complete Z made of both legs and the web. Forces run along the layers, and no bend can break along a layer line. This is the advantage over two angle brackets glued together.
In this orientation the holes are horizontal and get a 45° roof on top, so you do not need supports. The width of the bracket is its height on the print bed.
How much load the bracket takes
The load shown is a rough estimate, not a promise. It assumes a force at right angles to the last leg at its outermost hole while leg A is screwed on. In "Pro" mode you can put the load on leg A instead, and the last leg is then screwed on. All legs, webs and bends are checked for bending and tension, at the holes with the remaining width. The weakest point determines the load shown.
The other assumptions are the same as for the angle bracket: values from the Prusament data sheets, a safety factor of 3 and a notch factor for sharp inner corners. The calculation uses the printed structure of walls and infill, with 3 walls and 20 % infill in "Simple" mode and your values in "Pro" mode. For variations in print quality and layer adhesion the generator assumes 80 to 100 %, which gives the range.
The estimate applies to a short-term load at room temperature. The screws and the surface are not calculated. Neither is the fact that plastic slowly gives way under a constant load and softens when warm. Below the load you can see up to which temperature the material stays dimensionally stable according to its data sheet.
Frequently asked questions
What is the difference from the angle bracket?
An angle bracket has one bend and joins two surfaces at an angle to each other. The Z-bracket has two bends and joins two surfaces with an offset, for example a panel with a frame behind it. For simple angles use the angle bracket generator.
Which material should I use?
PLA is the default because it is stiff and easy to print. For parts on vehicles, outdoors or close to warm components use ABS, ASA or PC. These materials stay dimensionally stable for longer when warm. For ABS and ASA choose "ABS/ASA" in the form so that the load and weight match.
How do I measure the height?
The height is the distance between the underside of leg A and the top of leg B, which is the offset between the two surfaces you want to join. If one surface is not parallel, set the bend angles in "Pro" mode. The height then applies up to the upper outer corner.
How do I build a bracket with several offsets?
Set the number of offsets under "Steps", up to four. Two steps give a double Z with the legs A, B and C. Measure each height as for the plain Z, between the outer faces of the two legs that the web connects. You can put holes in every leg. Only the first and the last leg get rounded ends, because the legs in between are bent at both ends.
Can I save or share my settings?
Yes. All settings are stored in the page address. Use the "Copy link" button and save the link as a bookmark or send it on. Anyone who opens the link sees exactly your bracket.
The generator runs entirely in your browser. Your dimensions are not transmitted. When you download a file or copy the link, the page counts anonymously which generator, mode, material and screw type were used.