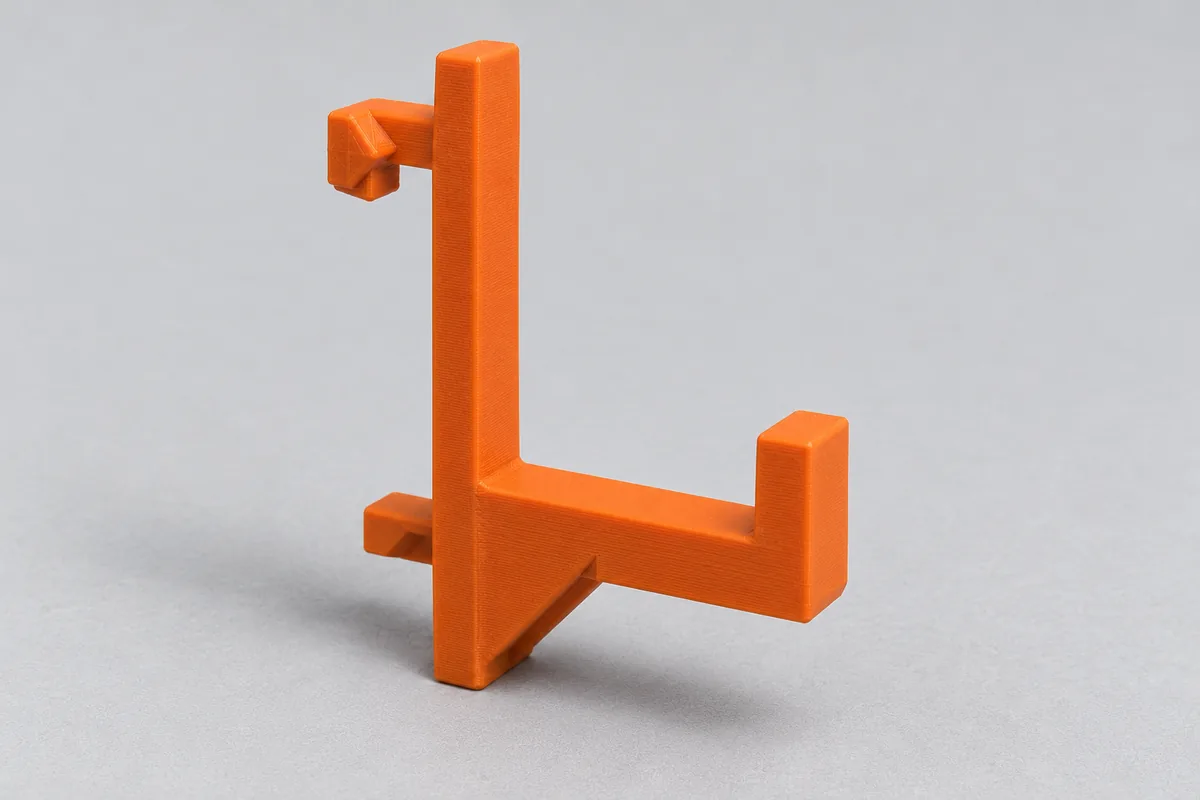
How it looks in use
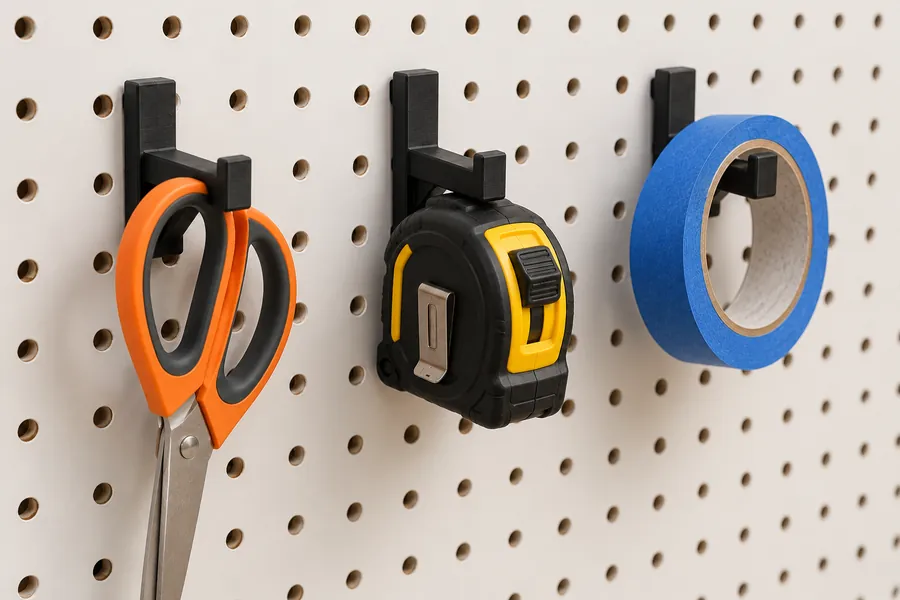
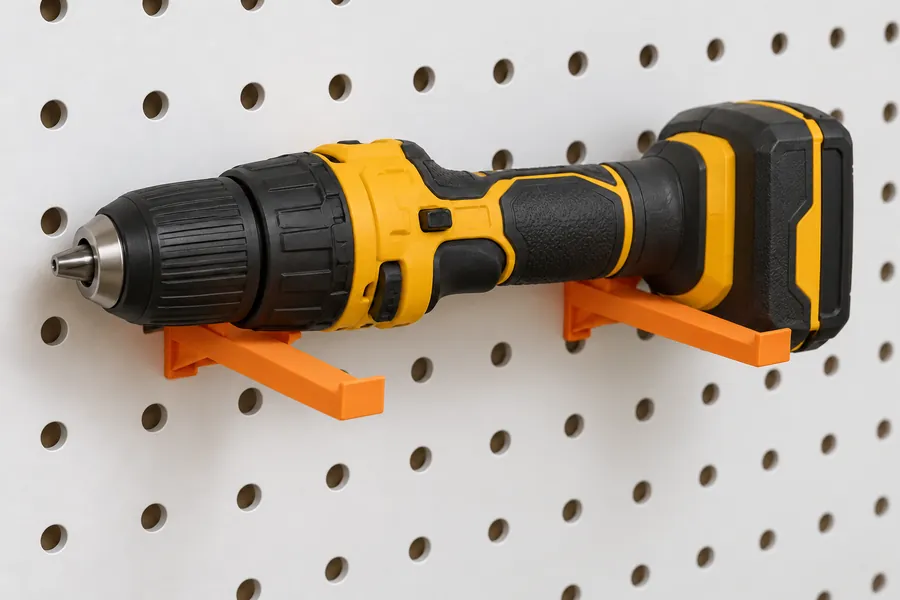
AI-generated example images in a small and a large size, not photos of prints.
How the generator works
First choose the shape. The single hook is an arm with a small lip at the end so nothing slides off. The double hook has a second, shorter arm above it, like a coat hook. The fork has a slot for tools with a shaft, such as a hammer or a screwdriver. The pegboard hook has two pegs instead of screws that go into the holes of a pegboard.
Then set the depth, which is how far the hook stands out from the wall, and choose the screw. In "Simple" mode the generator chooses arm height, lip, width and plate thickness to suit the depth and the screw. In "Pro" mode you set these values yourself. Your input is kept when you switch modes.
Double hook and fork
Make the slot a little wider than the tool's shaft and narrower than its head. The end of the slot is round so that no notch forms there.
Hooks for pegboards
Pegboards come with different holes. A common layout is a 1 inch (25.4 mm) grid with 9/32 inch holes (about 7.1 mm) in 5.5 mm boards, or 3/16 inch holes (about 4.8 mm) in 3.2 mm boards. Both are available as presets; the figures come from a manufacturer of such boards (Panel Processing). Measure your pegboard anyway. In "Pro" mode you can enter hole spacing, hole diameter and board thickness yourself.
The pegs are 0.4 mm thinner than the hole and have a diamond-shaped cross-section, so they print lying down without supports. To hang the hook, tilt it, push the upper peg through the hole and then swing it down.
How the hook is printed
Single hooks, double hooks and pegboard hooks lie on their side. Every layer is then the complete profile of plate, arm and lip, and the hook carries the load along the layers. The fork stands upright because its slot runs across the side. So that the prongs print without supports, their underside slopes at 45° all the way to the tip.
In both orientations the screw holes are horizontal and get a small 45° roof at the top. Below the download button the generator shows whether supports are needed.
Screws and mounting
The screws sit in the plate above the arm. The generator places the lowest screw high enough for a small screwdriver to reach the head over the lip. For long hooks it also checks the handle. A cordless drill does not fit most hooks because its chuck hits the lip; the table below the preview shows this. The screw length is the plate thickness plus five times the screw diameter.
How strong the hook is
The load shown is a rough estimate, not a promise. It assumes a load hanging at the front of the arm just in front of the lip. The generator checks the arm with the slope underneath and the plate between the arm and the top screw. For the plate it assumes that the hook tips about the bottom edge of the plate and that the screws hold it at the top, the upper one more than the lower one.
As with the angle bracket, the strength comes from Prusament data sheets, reduced for stress across the layers and with a safety factor of 3. Here too the printed structure of walls, solid bottom and top layers and infill counts: in "Simple" mode the generator uses 3 walls and 20 % infill, in "Pro" mode your values. To allow for variations in print quality and layer adhesion, it uses 80 to 100 % of the result, which gives the range. On the fork the plate is loaded across the layers, so the estimate is lower there. For pegboard hooks the generator gives no figure, because the load depends mainly on the pegboard.
The estimate applies to a short-term load at room temperature. Screws, wall plugs and the wall are not calculated. Nor does it include the fact that plastic gives way over time under a constant load and gets softer when warm. Below the load you can see up to which temperature the material keeps its shape according to the data sheet. Do not use the hook for safety-critical purposes.
Frequently asked questions
Which material should I use for a hook?
PLA is fine for hooks indoors. It is stiff and the easiest to print. If the hook hangs in the sun or gets warm, PETG is the better choice. Outdoors, use ASA. For hooks that carry something heavy all the time, we do not recommend PLA, because it slowly gives way under a constant load.
How can I get a higher load?
A greater width helps most, and in "Pro" mode a thicker plate. A shorter hook also carries more because the lever is shorter. Check the estimate below the preview after each change.
Does the pegboard hook fit my metal pegboard?
Only if the holes are round. Many metal pegboards have square holes, often 10 × 10 mm on a 38 mm grid; this hook is not made for them. Measure hole spacing and hole diameter and enter both in "Pro" mode.
Which print settings should I use?
In "Simple" mode the load estimate uses 3 walls and 20 % infill. In "Pro" mode you can enter what you use in your slicer under "Material and printing". With thin plates the cross-section then consists almost entirely of walls. For hooks, more walls help more than more infill.
Can I save or share my settings?
Yes. All settings are stored in the page address. Use the "Copy link" button and save the link as a bookmark or send it on. Anyone who opens the link sees exactly your hook.
The generator runs entirely in your browser. Your dimensions are not transmitted. When you download a file or copy the link, the page counts anonymously which generator, mode, material and screw type were used.